During the early days of the pandemic, daily Zoom meeting participants jumped from 10 million in December 2019 to 300 million in April 2020. Some sources suggest that Zoom is now the most popular virtual meeting app in the world.
One explanation for the app's popularity may be the robustness of the Zoom recording feature. You can record meetings in both the free and paid subscription Zoom accounts.
Why record a Zoom meeting
We all know it’s a good idea to record a meeting for someone who’s not able to attend. But consider these additional reasons to record:
- Record keeping: A Zoom recording archives important ideas, discussions, final decisions, and action items—so that attendees can reference the recording if confusion arises.
- Engagement: A recording in progress may improve attendee participation and behavior.
- Legality: Recordings can be very helpful in matters of compliance and eDiscovery.
- Transcription. This paid feature saves time for attendees who don’t have time to view the full recording. Transcriptions are particularly helpful for interviews or instructional meetings.
- New hires: Get new employees up to speed on past trainings or meetings.
- Knowledge base: Create your own video knowledge base for employees. Compile videos relating to a project, customer, or topic to organize your recordings.
- Practice: Record yourself to rehearse an upcoming presentation. It can be uncomfortable to watch yourself, but it’s a great way to see your presenting flaws and tics.
Although it’s not always necessary to record regular team syncs or discussions, some organizations may choose to record every virtual meeting.
Can’t decide? Any time you need a reliable reference point, consider recording your meeting.
Before you record a Zoom meeting
Before you get started, it’s helpful to know what to expect when you use the Zoom app to record a meeting.
The basics of recording include video feed, audio, and shared screens. The recording's display layout will be the layout of the host or participant that started the recording. Layout options include active speaker, a gallery of all participants, and more.
Keep in mind, a free Zoom account will only record locally to your computer. Paid subscribers can record locally, to the cloud, or with the mobile app.
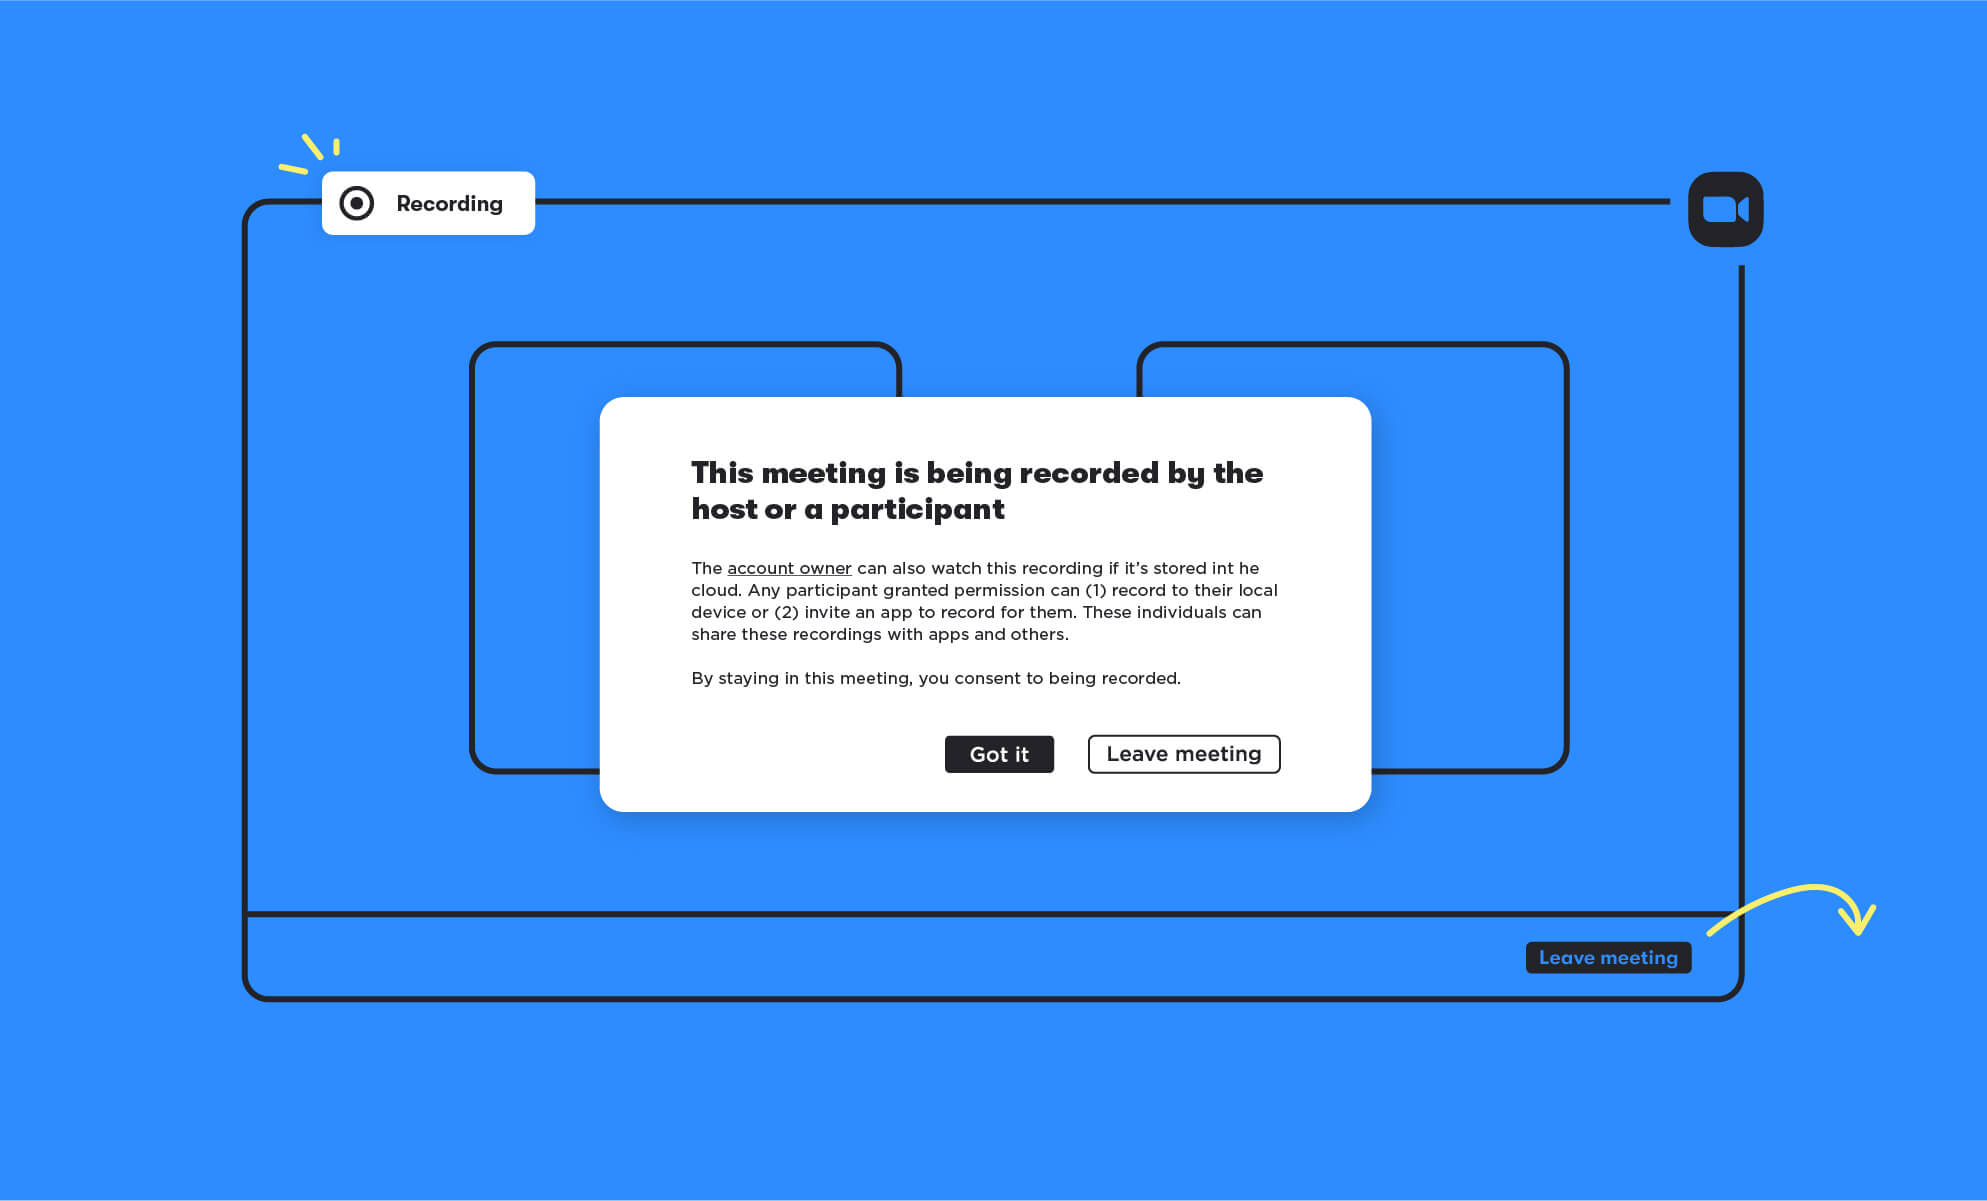
NOTE: By default, Zoom will also notify attendees that the meeting is being recorded. The host’s window will display “Recording” in the top left.
How to record via desktop
Free or paid subscribers can record locally in the desktop app for Windows, MacOS, or Linux. Local recordings are not an option for mobile devices. Also, recording on this computer won’t include features like a timestamp, participant’s names, audio transcription, or screen.
- During a meeting, click Record. If there is an option, choose Record on this Computer.
- The notification lets you know you’re successfully recording.
- If you need to, Pause Recording and when you’re ready to resume, click Start.
- When you’re done, click Stop Recording.
Find and share local Zoom recordings
You just recorded a meeting to your desktop, but where is the file now? If you forget later, the file path for recordings is in your Documents folder, in the Zoom subfolder:
- Windows C:\Users\[Username]\Documents\Zoom
- Mac /Users/[Username]/Documents/Zoom
- Linux home/[Username]/Documents/Zoom
Inside the Zoom subfolder, you’ll find each recording mp4 file titled with the date and meeting name.
NOTE: To share a locally saved video file, upload the recording to DropBox, YouTube, Stream, Vimeo, Google Drive or other cloud storage. Then, share the link.
If you want to change the default save location for future recorded files, on the Zoom app click the Settings gear icon. Choose Recording and then click Change to choose a new folder.
Record to the cloud from your desktop app
Recording a Zoom meeting to the cloud saves local storage space and makes your file accessible to more people. That said, only paid subscribers can record meetings to the cloud.
Like locally saved recordings, cloud recordings include video, audio and shared screen content. However, cloud recordings also include chat text, additional recording layouts, and download or online sharing capability.
To save your recording to the cloud:
- During a meeting, click Record. Choose to Record to the Cloud.
- The notification lets you know you’re successfully recording.
- If you need to, Pause Recording and when you’re ready to resume, click Start.
- When you’re done, click Stop Recording.
You’ll receive an email notification when the recording is ready. Watch for a subsequent notification when the audio transcript is available. Both emails include links to either the recording or transcript.
Record from the mobile app
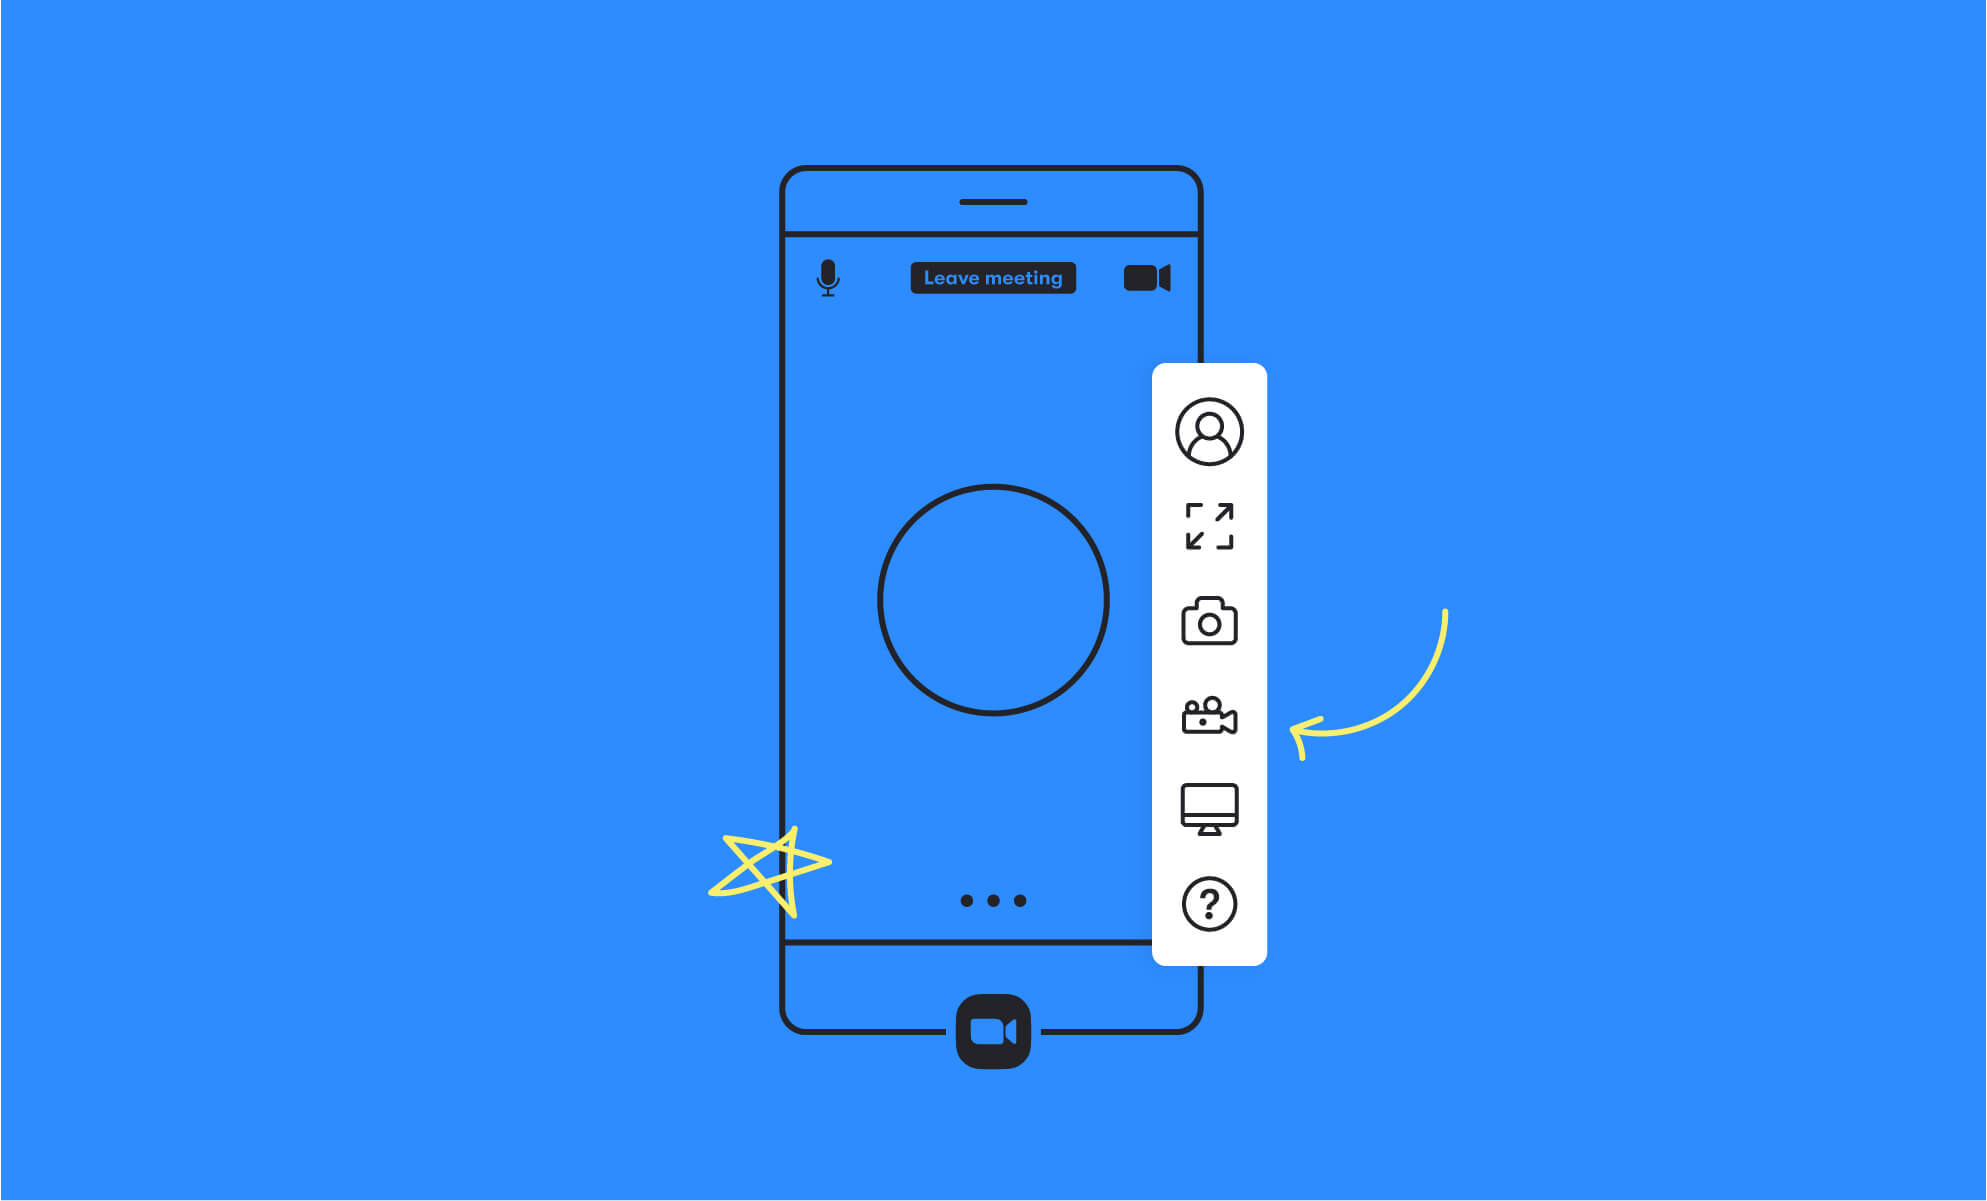
Paid subscribers can record meetings on iOS and Android devices with the Zoom mobile app. Recordings can’t be saved locally, only to the cloud. You must be the meeting host to record on a mobile device.
- While hosting a meeting in the Zoom mobile app, tap More. Choose Record.
- To pause or stop the recording, click More, and choose Pause or Stop.
You’ll receive an email notification when the recording is ready. Simply access and share the cloud recording in the Zoom web portal.
Share cloud recordings
To share a cloud recording, open the Zoom web portal in your browser. Click Recordings.
Under the Cloud Recordings tab, you’ll find the available recorded meetings.
Next to the meeting you want to share, click Share. Choose access settings, like if the link is available publicly or allow viewers to download the recording.
When you’re ready, click Copy Sharing Information to share the meeting and recording info with participants. Send the link via Zoom Chat, Microsoft Outlook, or your preferred collaboration app.
Download recordings to edit the video or keep a local copy. To download a cloud recording, click the More button and choose Download.
Give another user permission to record the meeting

By default, only the host can record the meeting. Take something off your plate—delegate the recording responsibility.
- In an ongoing meeting, click Participants.
- Next to the person’s name, click More.
- Click Allow Record.
While recording is in progress, you’ll see a recording icon next to the name of your chosen participant.
You can also disable a participant’s ability to record using the same method. Click Participants, next to the person’s name click More, and select Forbid Record.
Require authentication to view recordings
Likewise, you may protect cloud recordings by enabling viewer authentication. You can either restrict viewers to those who are logged into Zoom or a specific email domain. Administrators can disable or customize these settings.
- In a browser, log in to the Zoom web portal.
- Click Settings and select the Recording tab.
- Enable Require users to authenticate before viewing cloud recordings.
- In the Authentication Options, Click Edit or Hide to change the name or hide the option as desired.
To require authentication for a specific cloud recording, click Share. Under Share this recording, click Only authenticated users can view.
Delete a Zoom recording
Running out of space? Delete local recordings from your computer or delete cloud recordings from your Zoom account.
To permanently delete local recordings from your computer:
- Log in to the Zoom desktop app.
- Click the Meetings tab and click the Recorded tab.
- Select the meeting with a local recording. (If you only see the Open option, it means the recording is a cloud recording)
- Click Delete.
To permanently delete cloud recordings:
- Log in to the Zoom web portal in your browser. Click Recordings.
- Next to the meeting you want to delete, click the More button and choose Delete.
Deleted cloud recordings will automatically go the trash, where they are permanently deleted after 30 days. Admins can recover or permanently delete cloud recordings before the 30-day period ends.
For more details, check out this Zoom FAQ.
Are end users still asking for help when Zoom recording? Consult with one of our BrainStorm change experts about reducing your helpdesk calls and increasing Zoom adoption at the same time.
Keep Reading