
Back in the early 1990s, the birth of the webinar revolutionized the lead-gen game.
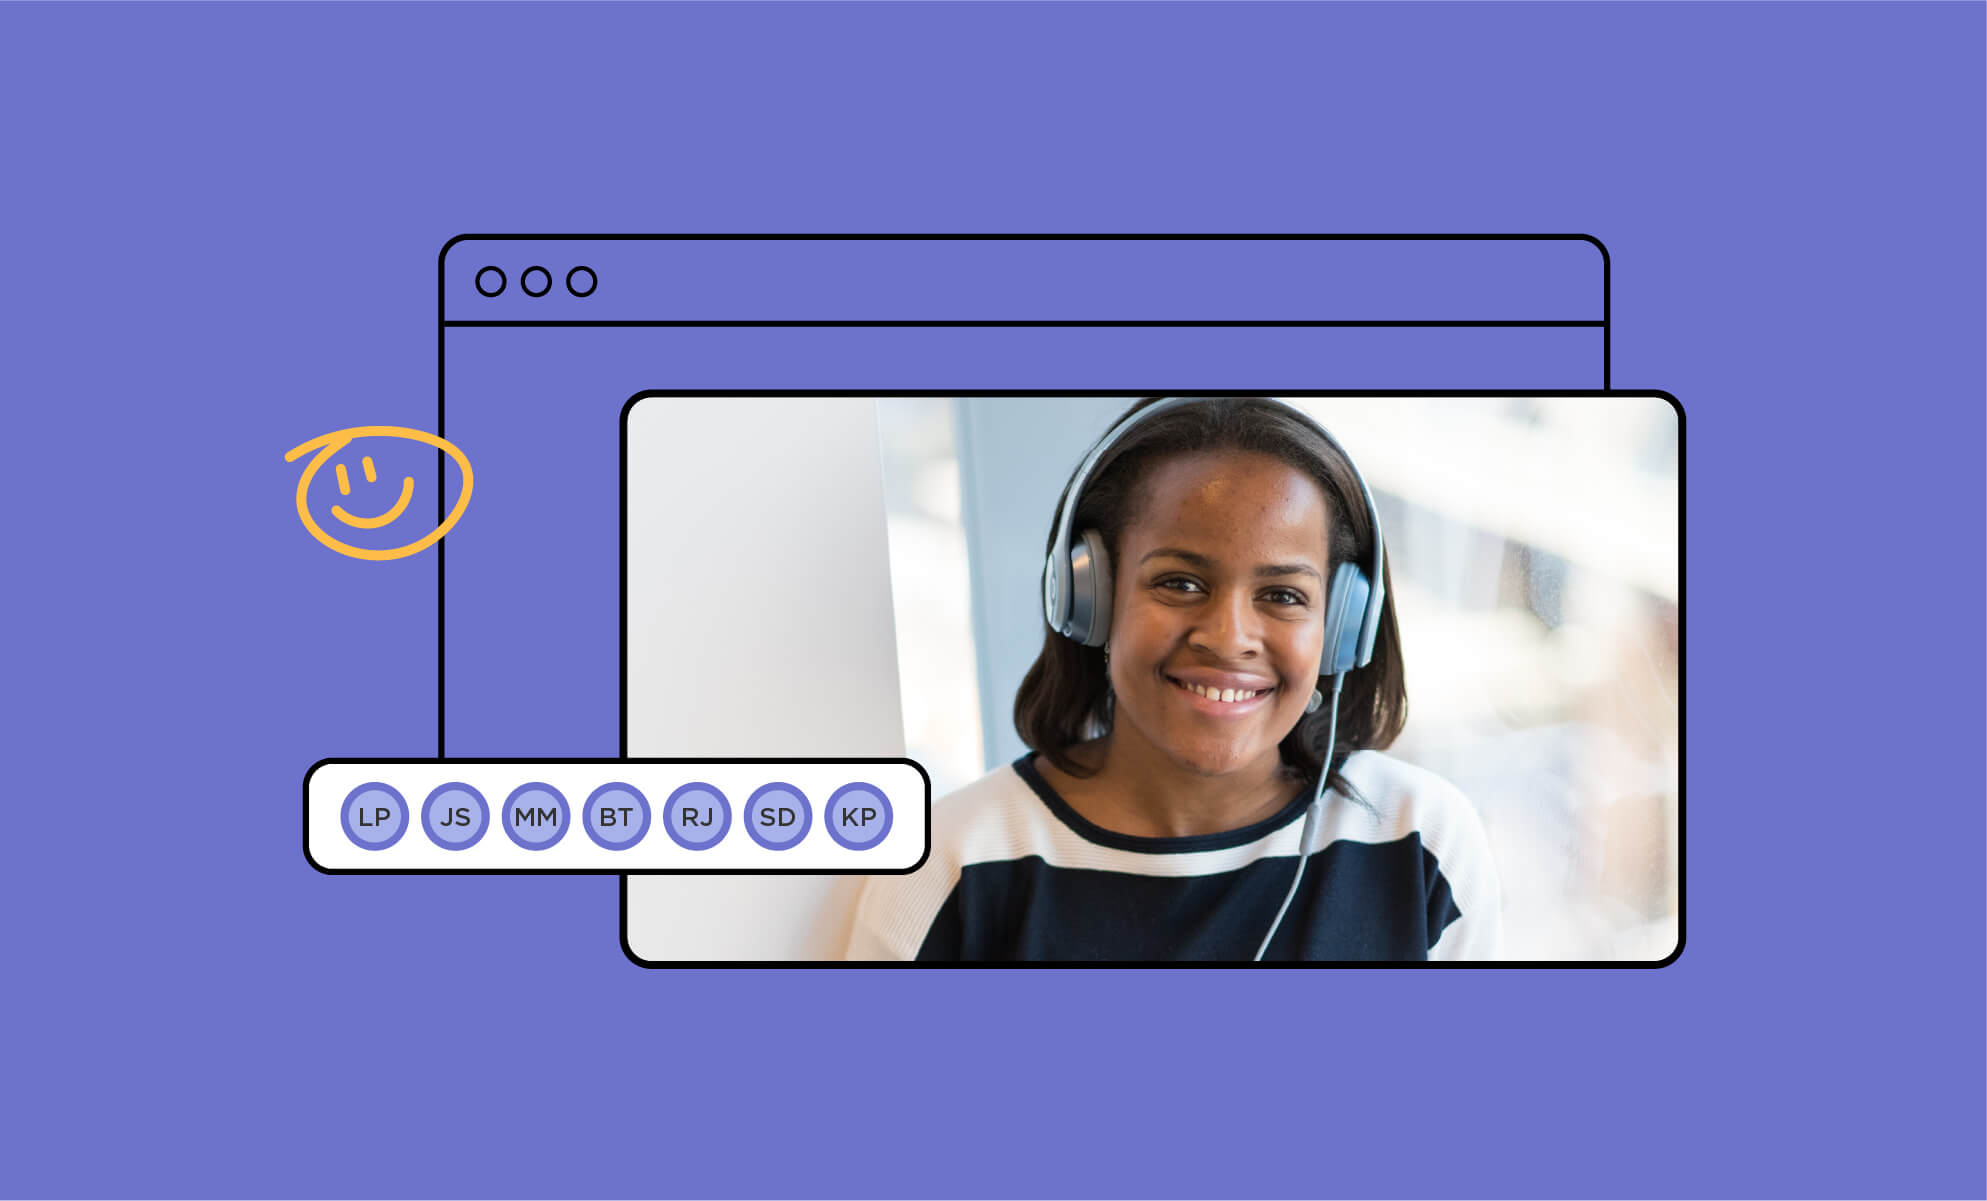
Today, webinars are still an effective way to reach a broad audience across time zones and continents. Webinar attendees share their time with presenters instead of just watching a video later or never. And a well-presented webinar can still generate excellent sales leads.
To date, most organizations have hosted webinars outside of their Microsoft or Google stack. But recently, the Teams webinar joined the party—making Microsoft Teams even more of a one-stop shop.
Types of Teams interactions
With the introduction of webinars in Teams, the popular collaboration tool now supports three basic types of interactions: traditional online meetings, live events, and webinars.
Meetings - Choose a meeting when you don’t need as much control over the conversation or participants—for example, in a regular team sync, discussion, or brainstorming session. Meetings are mainly for internal use but can include external guests.
Live events - Broadcast a live event when you have one or a few presenters, a set topic, and a need for limited audience feedback via a managed Q&A session. Live events are auditorium-style meetings and are great for internal or external events, including conferences, announcements, and product releases.
Webinars - Schedule a webinar when you have one or a few presenters but want to provide value and incentives to new leads. Webinar attendees can share reactions, post to the chat, and answer poll questions.
What Teams webinars include
Like other webinar tools, Microsoft Teams webinars allow presenters to interact in a limited way with attendees instead of engaging in back-and-forth discussion. As to other basics, a Team webinar will:
- Support event registration
- Include one or several presenters
- Allow up to 1000 participants (including people outside the organization)
- Encourage audience engagement via reactions, chat, and polls
- Provide registration and engagement data
Webinar roles and permissions
While planning a webinar, consider these three important roles:
Organizer - the person who schedules the webinar, sets up registration, invites attendees, and accesses the registration and attendance reports.
Presenter - the star of the show (e.g., teacher, trainer, or salesperson). Include one or several presenters and/or optional presenters. A subject-matter expert will boost interest and lend their credibility to the event.
Attendee - the audience member who registers for and participates in your webinar. Organizers can customize settings for participants’ camera, audio, content sharing, and interactive activities.
NOTE: By default, if members of your org can schedule a Teams meeting, then they can also schedule a webinar. However, IT admins can restrict this feature if needed.
The webinar attendee experience
So, what can your clients or prospective customers expect from a Teams webinar?
Here’s the experience in a nutshell:
- Attendees click the registration link and register for the event.
- After registering, attendees receive an email with webinar info and their join link.
- Attendees click to join at the designated time. By default, attendees will wait in the virtual lobby until the presenter or organizer admits them to the meeting. This lobby feature can be disabled in event settings, if desired.
- In a public (e.g., open registration) webinar, the attendee audio and video feeds are turned off by default so participants can’t share content.
No-brainer tip: Always send webinar reminders to improve registration and attendance.
Preparing for a Teams webinar
At minimum, you’ll need a few weeks’ prep time for your webinar. Pay attention to basics like:
- Webinar topic and description
- Date, time, and duration
- Presenter(s) and bios
- Media creation (slide deck, videos, etc.)
- Landing pages, social posts, and email campaigns
- Registrant information (name, email, address, industry, job title, organization)
Scheduling the webinar
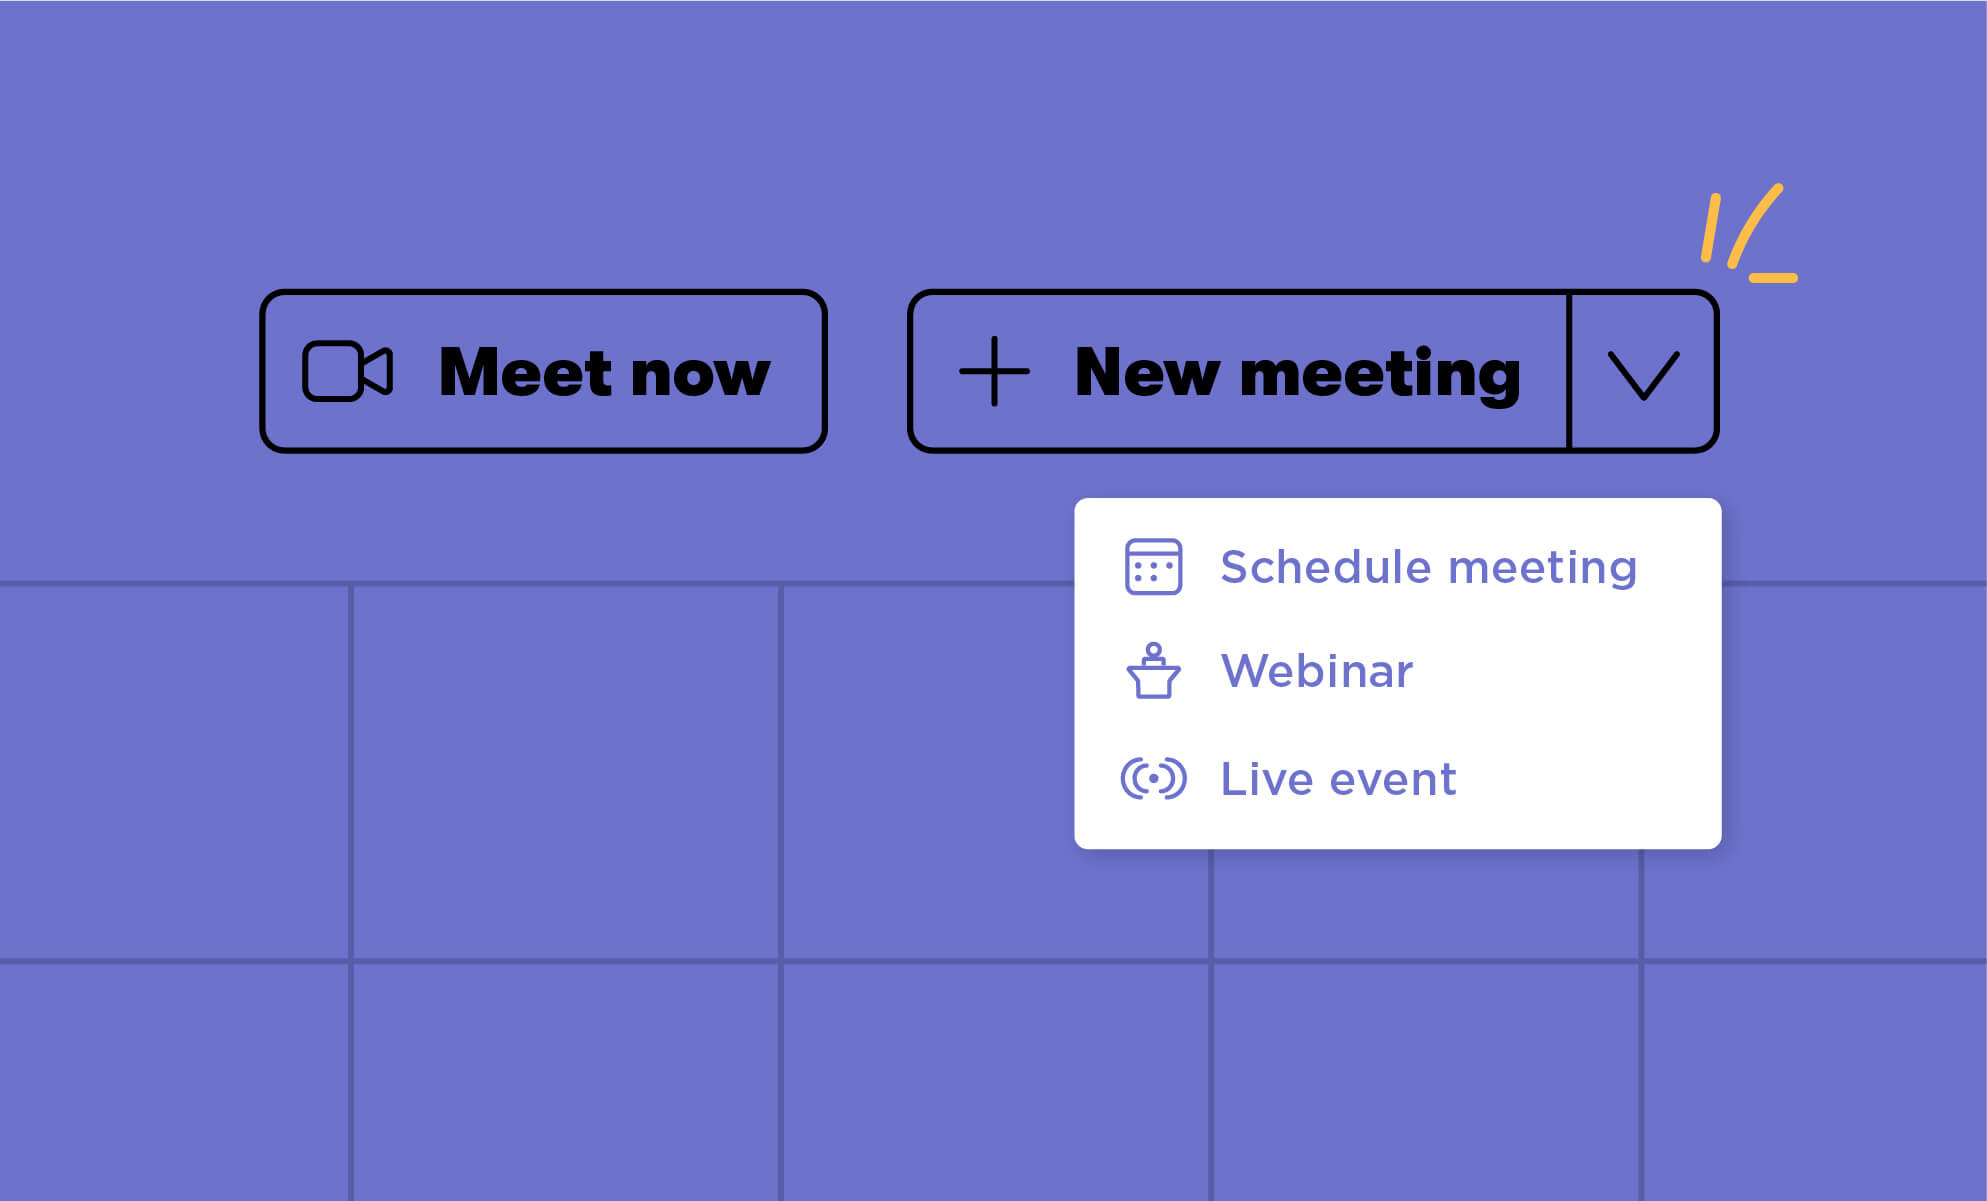
When it’s time to set up a webinar, the process is very similar to scheduling a Teams meeting.
From your calendar, click the New meeting dropdown arrow and select Webinar. Fill in event details and customize settings like registration and response options.
Next, click View registration form to customize the form. This includes speaker bios, an event image, and any information you want to collect from registrants.
Back on the scheduling page, click Send to send the invitation to presenters. This event will also show up on your presenters’ Teams calendars.
Sending the event will activate the registration link. Now you’re ready to invite attendees.
Inviting attendees and adjusting settings
Unlike small meetings with invites for specific people, webinar attendees don't get an automatic invite. As the organizer, you are responsible for sharing the registration link.
Simply copy the registration link to share it via email, social platforms, a Teams channel or chat, Yammer, SharePoint, or a corporate website.
Misplaced your registration link? To find it again, open your Teams calendar and double-click the webinar event for details. Then, click Copy registration link. If you still don’t see the link, view the Customize registration form and copy the link from there.
NOTE: Certain settings are only accessible after scheduling the webinar—for example, lobby restrictions, participant audio and video, and chat settings. After scheduling the webinar, adjust for specific needs.
To edit the scheduled webinar, double-click it inside your Teams calendar. Next, click Change options, or Meeting options. Now you can manage actions like bypass lobby, notifications when callers join, and mic and camera settings. When you’re satisfied, click Save.
Hosting the webinar
Before the webinar begins, download the registration report to get an idea of your attendees. In your Teams calendar, access your webinar and click Edit for details. Then, click Registration to download the report as an Excel spreadsheet.
When it’s time to kick off your webinar, start it just like you would a regular Teams meeting by clicking the webinar event and selecting Join. If you’re presenting, make sure your camera and mic are turned on, and then click Join now.
To adjust settings during the webinar, click More actions. On the menu, click Meeting options to adjust the attendee experience including the lobby, mics and cameras, and reactions.
Downloading the attendance report
Now that the webinar is over, it’s time to see how things went.
To find out, open your Teams calendar and double-click the webinar event for details. Next, click the Attendance tab to view the data within Teams. To download data, click Details tab and then Attendance.
Now that you have the skills to host a Microsoft Teams webinar, it’s time to help the whole organization work smarter with their software. Check out these Microsoft 365 offerings to get users started.